
Adding and Editing Member Details
To add a new member to your system, simply complete the details on the Members screen.
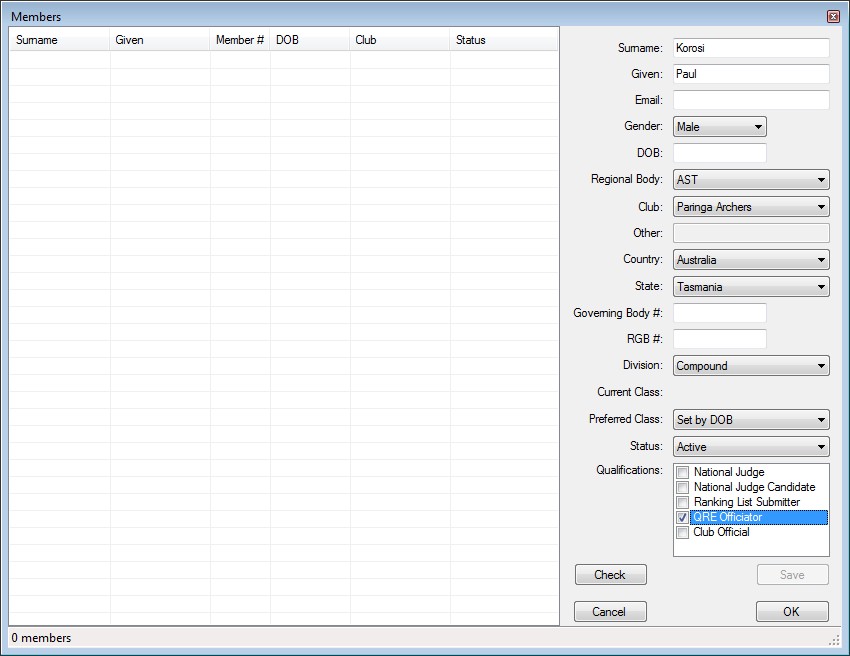
You will then need to press the Check button to make sure that the member has not already been added into the system - this requires an active internet connection. Once the check has finished, the Save button will become enabled. You can then press Save. The new member will then be added into your member list.
If you would like to edit a member's details, locate the member in the member list, then double-click on their entry. This will populate their details and you can make any changes you require. Once you have finished, press Save.
Please note that if you make changes to member details, you need to press the OK button on the member management window in order for these changes to be saved, otherwise all changes will be lost.
If you have made changes to member details and have pressed OK, the main window will display a message in the notification area that you need to synchronise your member details.
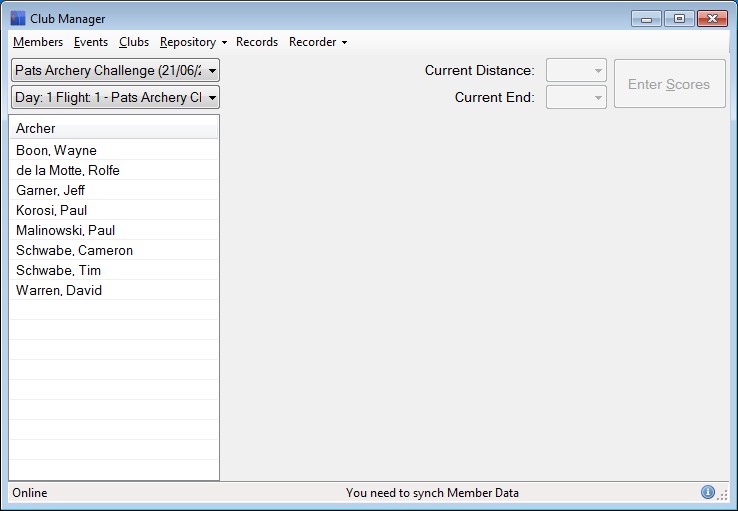
To synch your member data, go to the Repository menu and select either Synch Members (faster) or Check for Updates (slower). This will save your changes to the central repository.